Load and format the CIFAR10 dataset
In the Dataset tab, select the torchvision.datasets category and the CIFAR10 dataset. This dataset is composed of pictures from 10 categories of objects.
Click Load. If you don’t already have this dataset on your computer, it will be automatically downloaded.
Once loaded you can see the size of the input samples in the Input display:
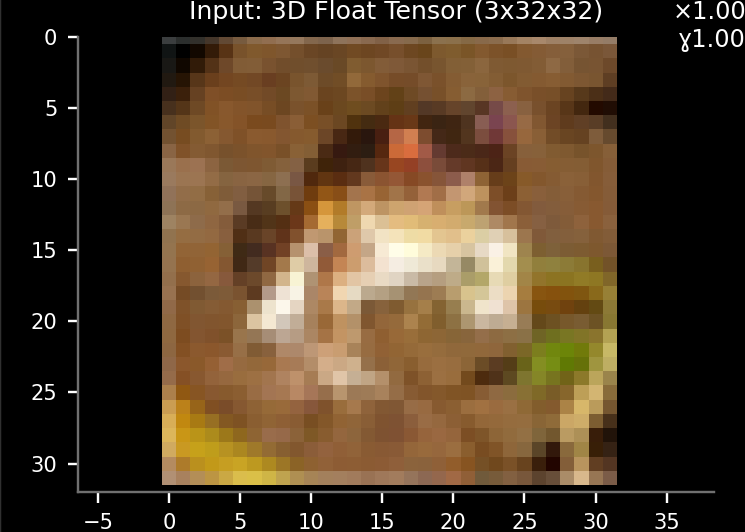
3x32x32 means a picture with 3 channels (RGB colors), a height of 32 pixels and a width of 32 pixels.
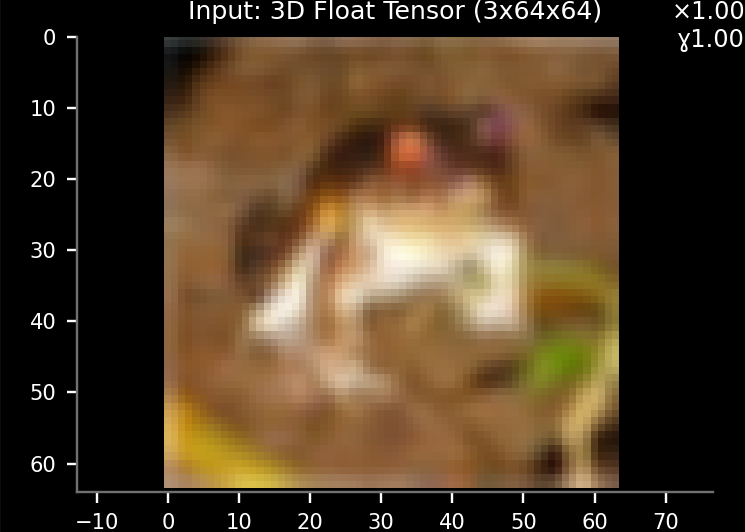
We’re going to use a model which requires color pictures with a resolution of 64x64, so let’s resize the input samples by adding transforms.Resize(64) to the transform parameter of the dataset:
![]()
Then click Load and check the Input display again:
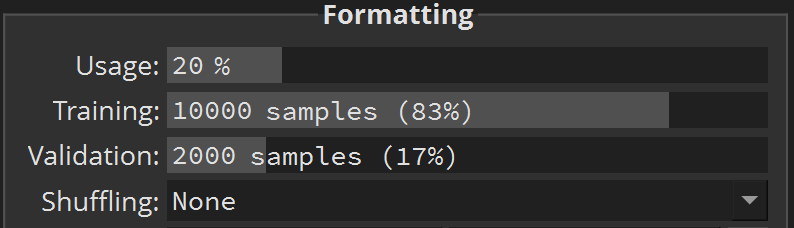
To speed up training let’s reduce the sample Usage to 20%:
Make sure this doesn’t unbalance our dataset by clicking Analyze:
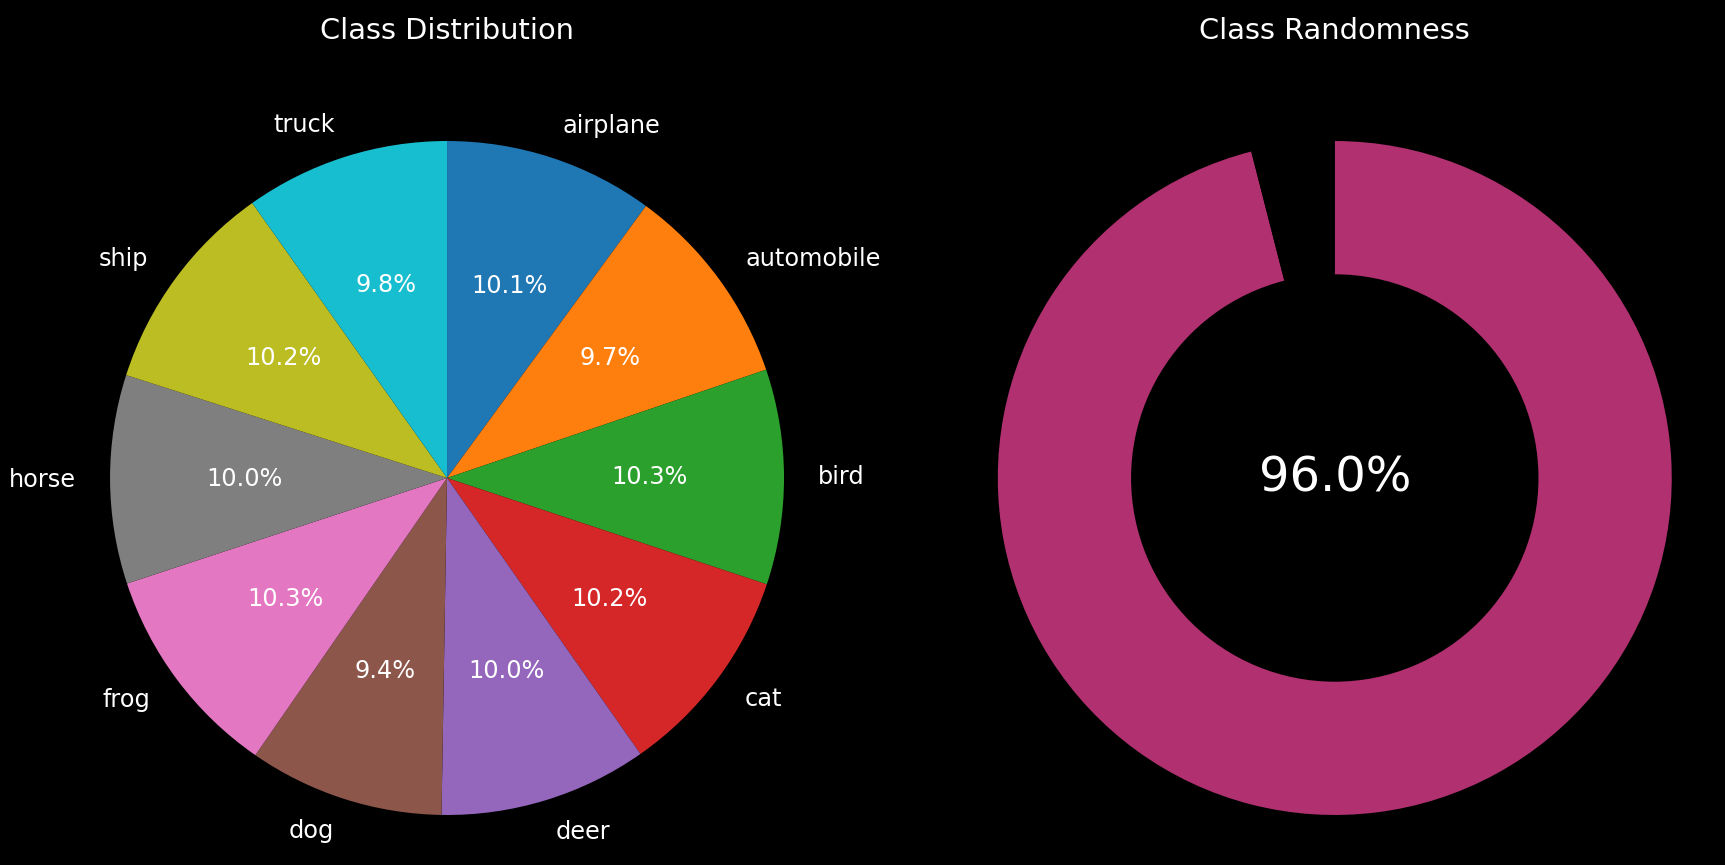
The dataset is still pretty well balanced, so let’s set up our model.
Set and train the untrained MobileNetV2 model
Click the  button at the top, next to the Dataset tab. This will create your first model.
Select the torchvision.models category, and the MobileNetV2 model.
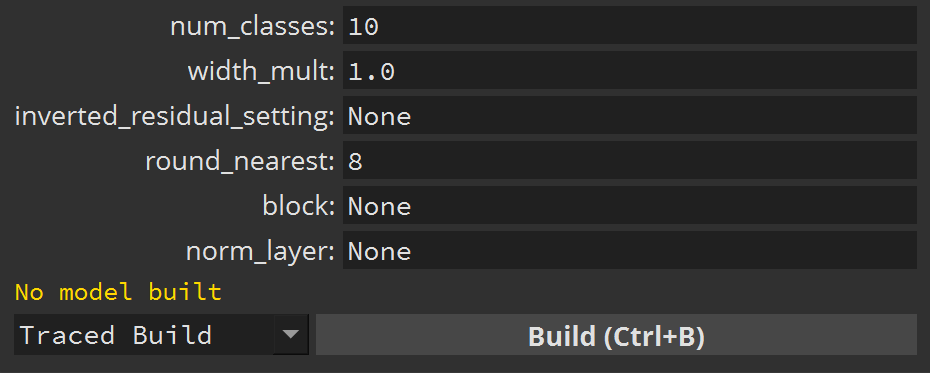
Before building it, we’ll have to change the num_classes parameter to 10, as our dataset contains only 10 categories of objects:
Then click Build and Train. While this model is training, let’s create a new model tab.
Patch and train the pre-trained mobilenet_v2 model
Click the button at the top, next to the Model 1 tab. This will create a second model.
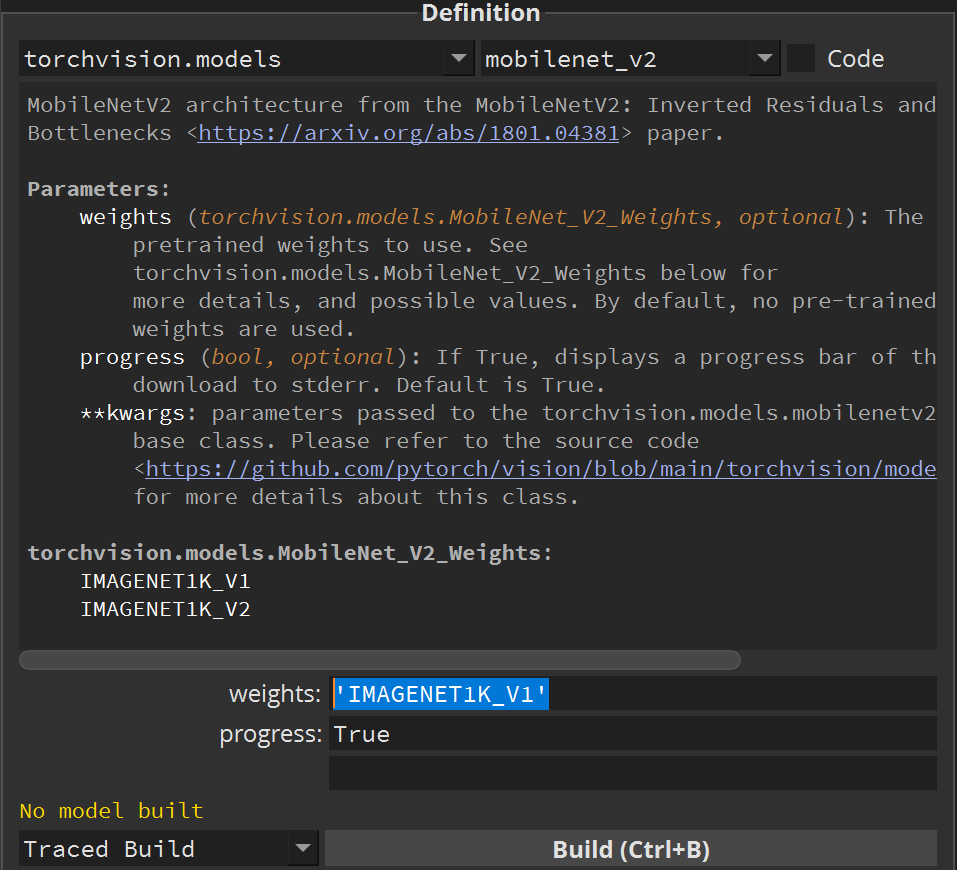
Select the torchvision.models category, and the mobilenet_v2 preset model (lowercase). Notice this is different from the MobileNetV2 model, as this mobilenet_v2 allows us to use pre-trained weights.
All the possible pre-trained weights values are listed in the description of the model.
To use pre-trained weights, set the weights parameter to 'IMAGENET1K_V2':
NB: In previous versions of PyTorch (1.11 and earlier) this parameter was a boolean value called pretrained.
Then click Build. If you don’t already have the pre-trained weights on your computer, they will be automatically downloaded.
Once the model is built, have a look at its Graph representation, in particular the last nodes:
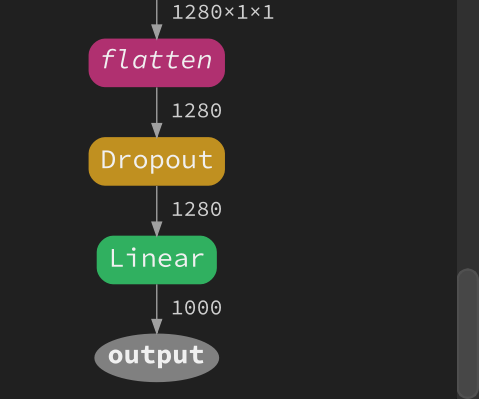
Notice the Output node receive 1000 values from the Linear node, which does not match our 10 categories of objects. Unfortunately the mobilenet_v2 preset model doesn’t have a num_classes parameter. We’ll have to patch the model directly.
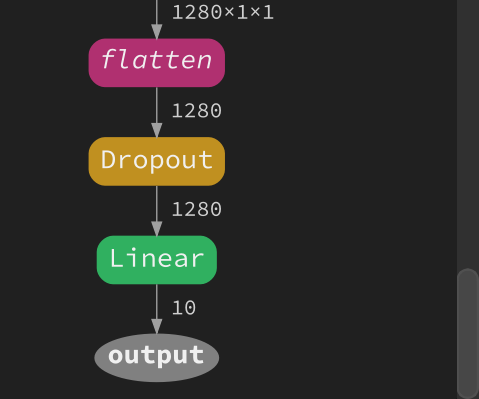
Clicking the Linear node will add a new line in the source code of that model to patch the Linear node. Change the out_features parameter in that new line to 10:
    model=torchvision.models.mobilenet_v2(weights, progress, **kwargs)
    model.classifier[1] = nn.Linear(in_features=1280, out_features=10, bias=True)
    return model
Then click Build again. Now the Linear node output 10 values:
Click Train to start training the model.
NB: If the first model didn’t finish training and you’re using the same training device, the second model will wait before training. The training device is defined next to the Train button. If you want to save some time you can go back to the Model 1 tab and click Stop Training after epoch 20, this won’t change the conclusion.
Compare the results with the dashboard
While our models are training, we can monitor their progress and compare them in the Dashboard. It’s the last tab in the top-right corner of the application.
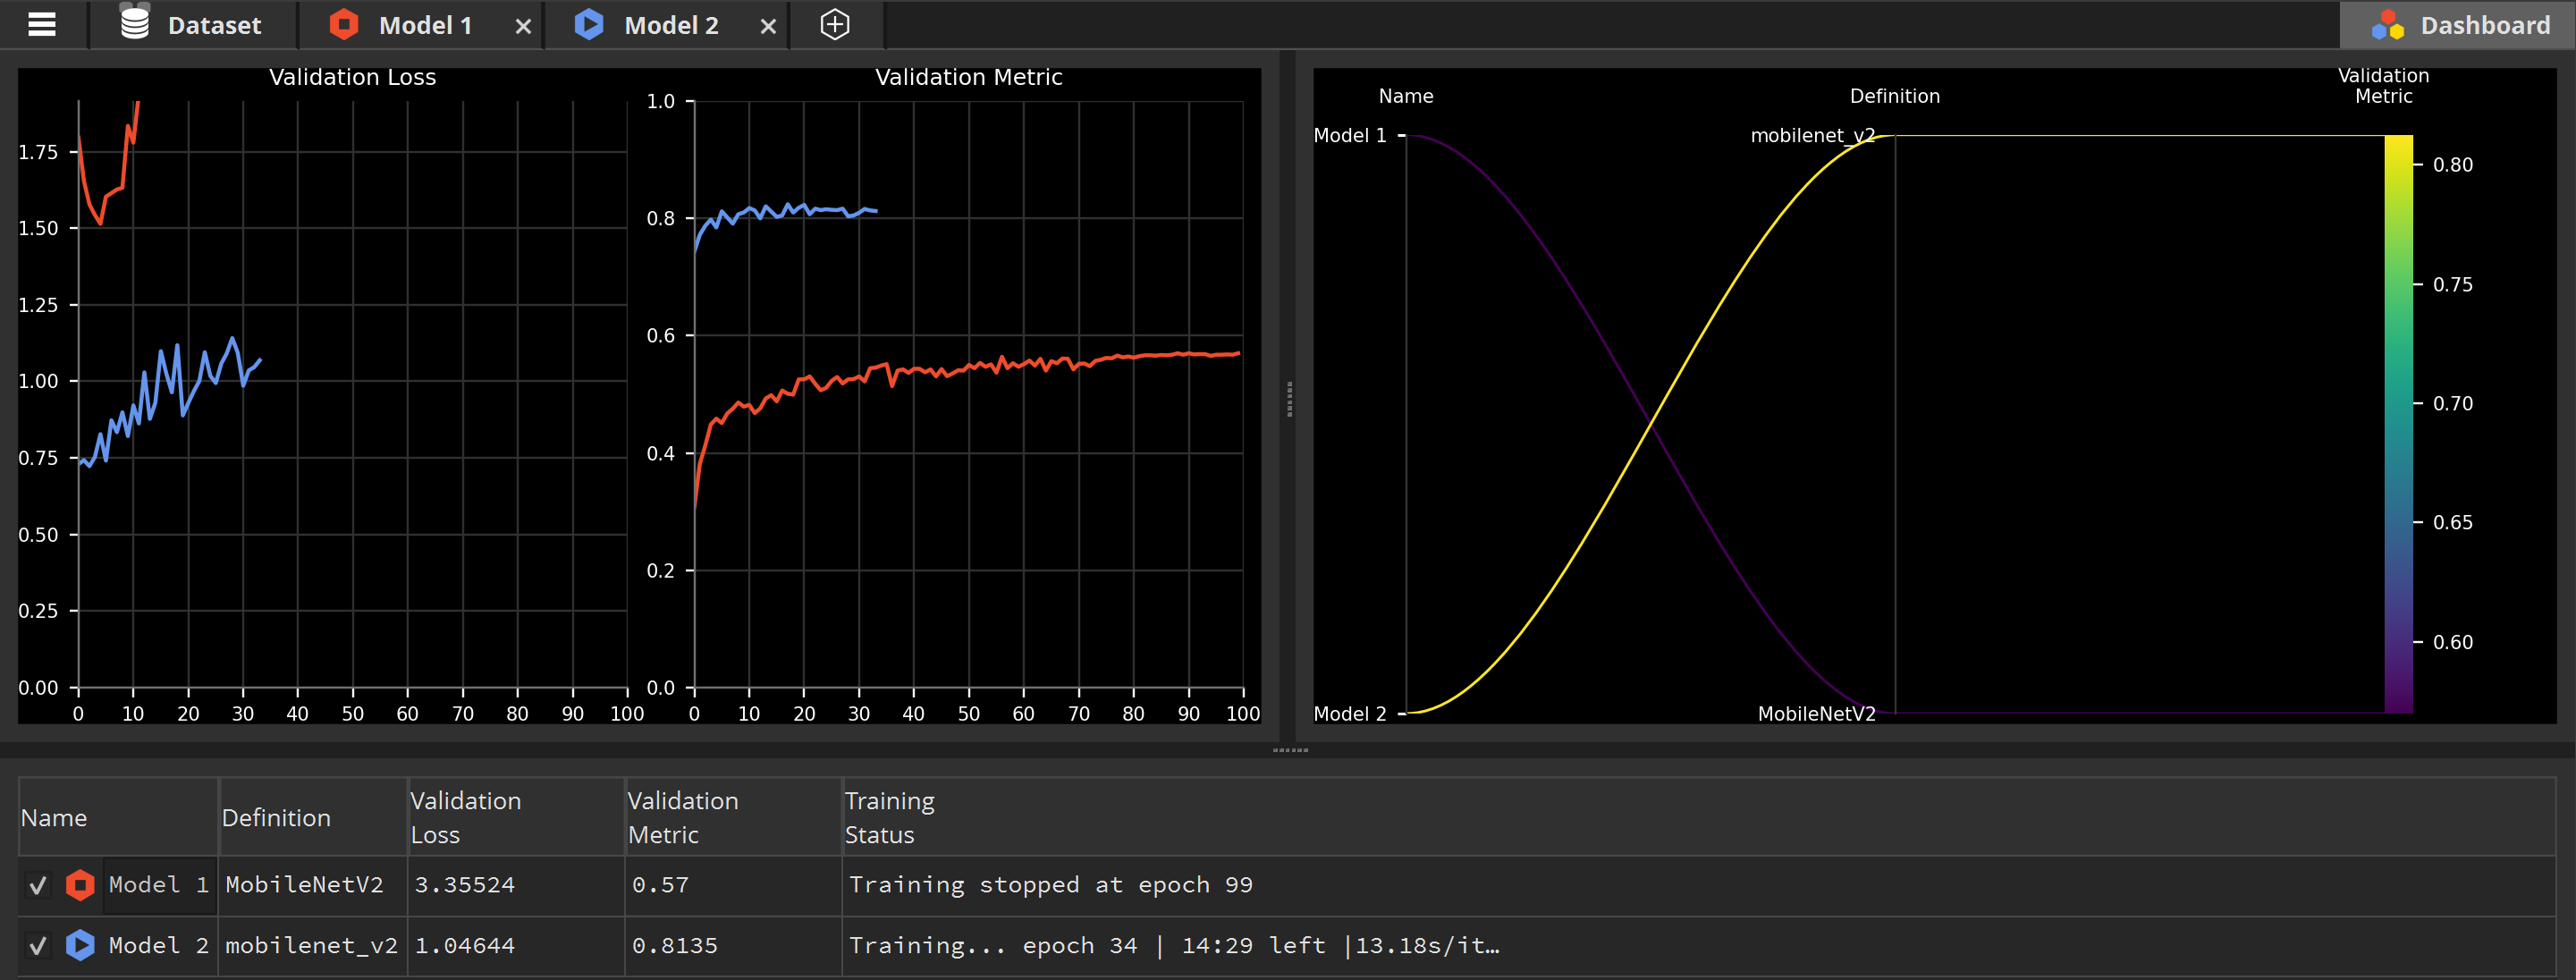
Notice the Validation Metric of Model 1 (in red) plateau at 0.6, meaning 60% of its predictions are correct, no matter how long we wait. On the other hand, the Validation Metric of Model 2 (in blue) quickly reach 0.8, meaning 80% of its predictions are correct.
Even though both Model 1 and Model 2 were never trained on the CIFAR10 dataset, Model 2 has already been trained to recognize and classify pictures with a different dataset. This knowledge is transferred when learning how to classify pictures from the CIFAR10 dataset. This is what is called transfer learning.